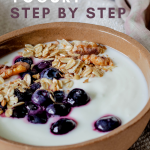
Easy Instant Pot Yogurt - Cheaper and Better Than Store-Bought!
I can't believe it took me this long to start making homemade yogurt. It's so much easier than I expected! It's also much cheaper, and in my opinion, more delicious than any store bought yogurt you can get. Making this Easy Instant Pot Yogurt has quickly become one of my favourite weekly rituals. It comforts me to know that my fridge is full of yogurt that I can use for breakfasts, baking, quick sauces, dips, spreads, and a whole lot more.
How long does it take to make yogurt?
As easy as homemade Instant Pot yogurt is, there is a bit of a timeline involved, so some planning is needed. Heating and cooling the milk takes a good hour, after which it spends 8-12 hours incubating (cooking). I usually start the process around 8pm so it's ready when I wake up in the morning.
What equipment do you need?
This method requires an Instant Pot or other brand of electric pressure cooker with a yogurt setting. I know it's also possible to make yogurt in the oven or a crock pot. These methods might even be just as easy! But the Instant Pot method is crazy reliable, so I'm sticking with it for now.
The only other piece of equipment you need is an instant-read thermometer so you don't overheat or over-cool your milk. If you don't already have one, they are certainly a worthwhile investment. My ThermoPop digital thermometer was worth every penny. (If you're in the market for a digital thermometer and use that link, I get a little cut.)
What ingredients do you need?
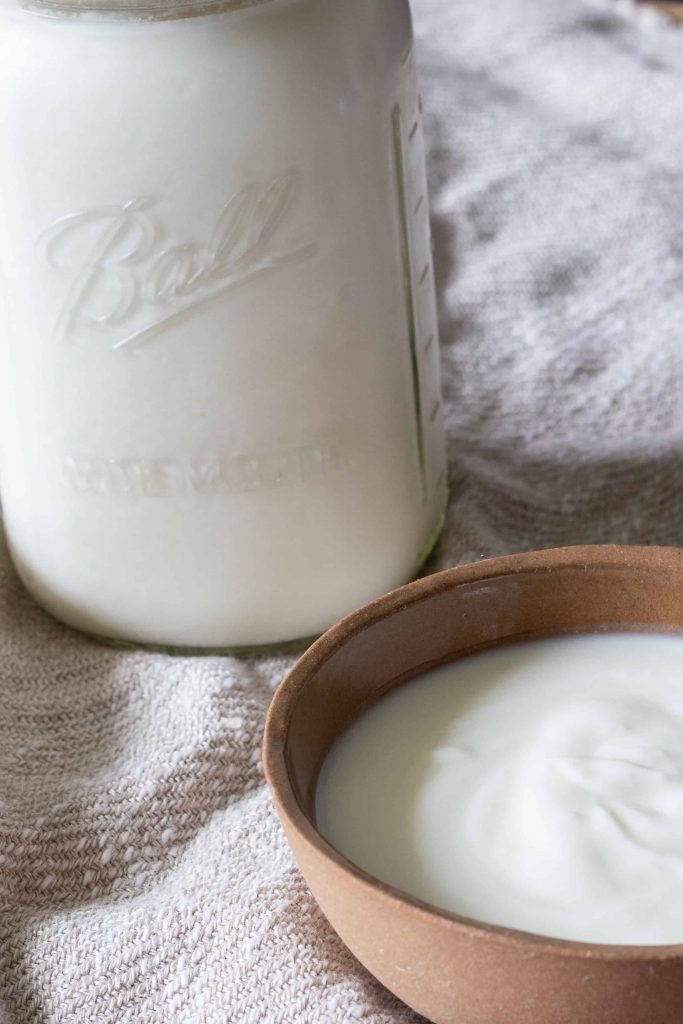
I always make my Instant Pot Yogurt using plain whole milk. Preferably organic whole milk if the one gallon jugs are available. Making yogurt with organic milk is still cheaper than buying pre-made yogurt, which is pretty awesome.
The only other ingredient you'll need is some starter yogurt. This contains the bacteria needed to turn your milk into yogurt. If this is your first batch, you'll need to buy some store-bought yogurt to kick things off. Look for a full-fat, Balkan-style plain yogurt with no gelatin or other weird additives. When you get into the rhythm of making yogurt, you can reserve a small amount from each batch to start the next.
The ratio I use is: One gallon of milk to ¼ cup of starter yogurt.
Don't let the temperatures scare you
The part of the yogurt-making process that held me back for so long, was the initial heating and cooling of the milk. I'm a fairly impatient person, and I'm also a fairly uncalculated person.
The idea of heating something until it reaches a specific temperature, then cooling it until it reaches another specific temperature has never appealed to me. But after taking the initial plunge and doing it a couple of times, I started to feel a lot more casual about it.
Also, the temperatures are only ballparks. I've definitely overheated and over-cooled the milk on several occasions and it has always worked out pretty well.
How to make Instant Pot plain yogurt
Making the yogurt only takes a few steps. If you're using Ultra Heat Treated (UHT) milk, you can skip the heating and cooling steps, but I always buy fresh non-UHT milk, so heating and cooling is necessary to kill any dangerous bacteria in the milk.
1. Heat the milk: I like to heat my milk on the stovetop in a normal pot rather than in the Instant Pot. This is because I find that no matter how careful I am, a brown crust always forms on the bottom of the pot. Instead of fighting this fate, I just let it happen, then transfer the milk to the Instant Pot afterwards, being careful not to scrape the bottom. This also means I can crank the stove up to full blast and get the heating process over with faster. This part of the process usually takes about 15 minutes on my stovetop. The minimum temp you should be looking for is 180 degrees. Just keep an eye on the pot so it doesn't boil over.
*Update: I have recently started using the Instant Pot BOIL setting to heat the milk instead of using a pot, then transferring the milk to the Instant Pot liner. Although it does form a brown crust on the bottom of the pot, I find that as long as you don't disturb the crust, it doesn't affect the final yogurt.
2. Cool the milk: Once heated, the milk needs to cool to about 100-110 degrees. The best way to do this is to set the pot in an ice water bath in your sink. It will cool down in 15-30 minutes this way.
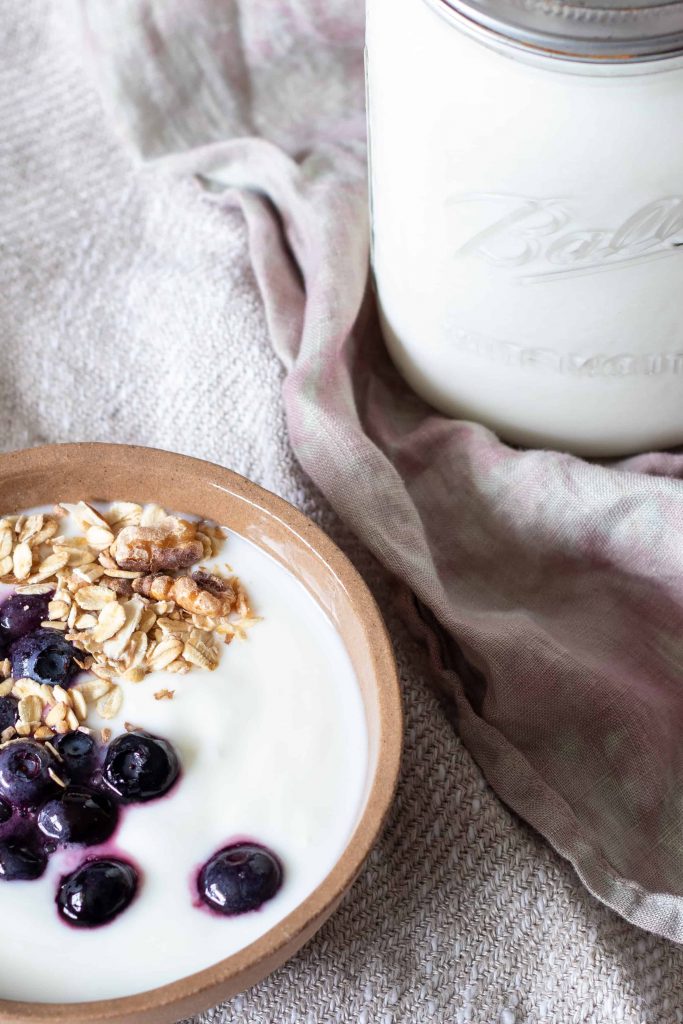
3. Combine the ingredients and let it incubate: Once cooled, it's time to dump your milk into the inner pot of your pressure cooker, whisk in your yogurt starter, set the timer for 8-12 hours, smash that yogurt button, and go to bed.
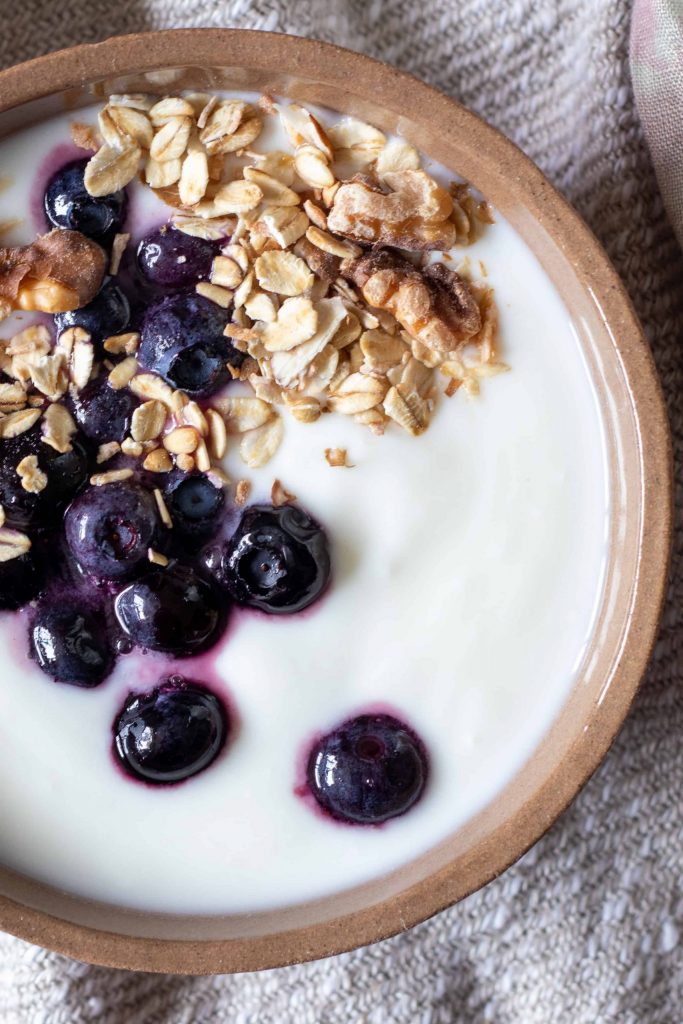
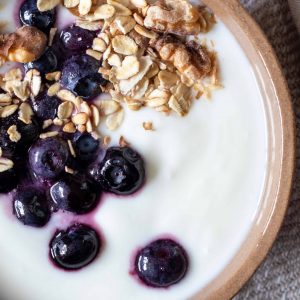
How to serve your Instant Pot plain yogurt
When your yogurt is ready, you've got some options. You can enjoy it as it is, which is my usual choice, or you can stir in some jam or maple syrup to sweeten it up. Here are some other ideas:
- Add a bit of salt and lemon zest and you've got an amazing drizzly sauce for my Green Pea Fritters.
- Toss in some squeezed out cucumber, garlic, walnuts and fresh dill, and you've got a delicious Tzatziki-style dip. (The walnuts turn it into snejanka; tzatziki's Bulgarian cousin.) You can see me make snejanka in my Mediterranean Dinner Party video.
- If you are a fan of plain Greek yogurt, you can rig up a wooden spoon tea-towel contraption to strain out some of the whey and thicken it up.
- You can also strain it longer-to the point where it becomes yogurt cheese (or Labneh). I use this instead of store-bought cream cheese for spreading on crackers, dipping with veggies, or using on sandwiches.
- Use this yogurt in place of butter and milk for mashed potatoes!
TIP: Whenever you strain or press yogurt, you will end up with a lot of whey as a bi-product (the watery stuff that comes out). This stuff is great for using in smoothies, or for replacing some of the water in bread baking. Don't throw it out if you can help it!
Frequently asked questions
No, you can use plain store-bought yogurt as your starter culture. Just make sure it contains live active cultures and has no additives. Use about 2 tablespoons of yogurt per quart of milk.
Whole or 2% milk both work well for making yogurt. I have heard that ultra-filtered milk will produce thicker yogurt, while regular pasteurized milk creates a thinner consistency. Avoid skim milk as the final yogurt will lack creaminess.
When stored properly in an airtight container in the refrigerator, homemade yogurt typically lasts 1-2 weeks. Always check for signs of spoilage before consuming.
While it's possible to make non-dairy yogurt, it requires different techniques and often needs specific starter cultures. Regular yogurt cultures are designed to work with dairy milk and may not properly ferment non-dairy alternatives.
I hope you give my Instant Pot yogurt recipe a try! Let me know if this becomes part of your new weekly or bi-weekly ritual by tagging me on Instagram @howtomakedinner.
Easy Instant Pot Yogurt - Cheaper and Better Than Store-Bought!
Equipment
- 1 Instant Pot or other electric pressure cooker
Ingredients
- 4 litres whole milk
- ¼ cup plain, full fat yogurt (the good stuff)
Instructions
- Heat the milk in a large covered pot over high heat until it reaches between 180-200 degrees Fahrenheit. This usually takes 12-15 minutes. Keep an eye on it so it doesn't boil over. *SEE RECIPE NOTES
- Place the pot in the sink and fill the sink with cold water along with some ice or a few ice packs you'd use in your kid's lunch kit. Cool the milk until it reaches 100-110 degrees Fahrenheit, which should take about 15-20 minutes.
- Transfer the cooled milk to the Instant Pot liner along with the ¼ cup of plain, starter yogurt. Be careful not to scrape the bottom of the pot, as it will likely have formed a brown crust.
- Cover with a regular pot lid and set it on the yogurt function for 8-12 hours.
- Scoop your yogurt into clean glass jars and store in the fridge for up to two weeks.


Couple of thoughts - the Thermopop is the best thing for yogurt making! I tested it next to my candy thermometer, which was wildly inaccurate until it got close to 200 F. Much nicer to actually know the temp as you go.
Also, adding a skim of water to the bottom of the pot helps prevent scorching and doesn't seem to thin the yogurt at all. If you mess up, boil a bit of water in the scorched pan, add a big glug of white vinegar and boil some more. Comes off like a dream.
Final tip - if you heat in a different pot, try putting the one that goes into the instant pot in the sink, pour in your yogurt-to-be and fill up the sink with cold tap water. That way you aren't spending time cooling the hot cooking pot - just the yogurt. It takes under 10 minutes to cool that way and you get a sinkful of warm water for washing the heating pot and whisk:-)
These are really great tips. Especially for those who don't enjoy scrubbing pots! I have gotten into the habit of busting out my metal scrubbie every time I make yogurt because I always end up with a bit of a crust. But I'm going to try your method next time! And yeah you're right about the sink method. It's WAYY faster. Thanks mama!
I tried another recipe that is much easier than this one and it's a "No Boil" recipe. It has just three ingredients. The results are mind blowing. I've made this recipe twice and it is great! The ingredients are: One half gallon of Fairlife ultra pasteurized milk, a 14 oz can of sweetened condensed milk and 2 tablespoons of plain yogurt, with live and active cultures.
Ah yes I should add a note to skip the initial heating step if you're using pasteurized milk. That type of milk isn't available here in Canada (as far as I know) but I am aware of that cool shortcut for those in other countries! Thank you!
If you have Walmart in Canada they sell the ultra pasteurized milk...Horizon brand. I, for ethical reasons, will never buy a Fairlife product. Horizon is cheaper and is a full 64 oz.
Thank you for explaining.. But, what's the point of using the instant pot if it doesn't calculate the temp for you, plus you can't even heat it up in the instant pot? I'd rather make it without it.
You can skip the milk heating part if you're using ultra-pasteurized milk. The Instant Pot takes care of the slow incubation period so I don't have to worry about it! I just let it go overnight and put it in jars in the morning.
If you can fix your easy method to make yogurt in the insta pot, you could use the model of insta pot that has a “yogurt” button the model name is ‘duo’ or mine is ‘nova plus’ that has the yogurt button.
It heats the milk up to the high temp, just before boiling then you let it cool down not using the stove or a different pot to aid in your yogurt making process. I picked your video because it said easy. If you could make it a 1 appliance method it would be easier than it is now. I do like your nice friendly approach to this job.
I did make 1 gallon, or it is processing now.
Also I don’t know how much a liter is , can you add the word gallon somewhere for the amounts.
Thanks for your video.
I just wanted to help you make this better, it’s already a very good video, I would recommend this to anyone who wants to make yogurt in their insta pot.
Hi! Thank you for this. I should add my reasoning for this clumsy extra step! I have tried using the Instant Pot for the initial heating process, but found that it created a scorched layer on the bottom of the pot. I prefer using a different pot so that even if I do scorch it, at least I'm making the yogurt in a fresh, non-scorched pot. (I am always looking to save steps, but I feel like this one really helps!)
I make mine one thr stove and my pot is always scorched. I leave the milk in it overnight and cover with a heavy blanket. Yogurt comes out great and the scorched pot doesn't affect the Yogurt quality. I wish I could do it in the instapot from start to finish with it calculating the temp
I just tried making yogurt in my Instant Pot after reading your post, and I’m amazed at how easy it was! The texture is fantastic, and it tastes so much better than store-bought. Thanks for sharing such a straightforward method! Can't wait to experiment with flavors next!
So glad to hear that!! Thanks!
I just made this Instant Pot yogurt recipe and I can’t believe how easy and delicious it is! It’s so much better than store-bought, and I love being able to customize the flavors. Thanks for sharing such a simple method!
Yes!! So glad to hear that!
I'm so excited to try making yogurt in my Instant Pot! It sounds so much easier than I expected, and I love the idea of saving money while having full control over the ingredients. Can't wait to taste the difference compared to store-bought! Thanks for the detailed instructions!
This recipe is a game changer! I never realized how easy it would be to make yogurt at home. It turned out so creamy and delicious—definitely way better than what I've been buying at the store. Thanks for sharing such a simple process!
I just tried making yogurt in my Instant Pot using this recipe, and I’m blown away! It’s so much creamier and tastier than the store-bought stuff, plus I love that I can control the sweetness. Thanks for sharing such a simple and delicious method! I'm definitely going to make this a regular staple in my kitchen. 😊
I tried making yogurt with this recipe, and it turned out amazing! So much creamier than store-bought, and I love knowing exactly what's in it. Thanks for sharing such an easy method!
I just tried making yogurt in my Instant Pot using your recipe, and it turned out fantastic! It's so much creamier than the store-bought stuff, plus I love knowing exactly what's in it. Thanks for sharing such a simple method!
I just tried making yogurt in my Instant Pot using your recipe, and I'm amazed at how easy it was! It turned out creamy and delicious, way better than what I buy from the store. Plus, I love knowing exactly what's in it. Thanks for sharing such a fantastic method!